DAILY OBSERVATION GUIDE
How to inspect and document the underside of a 1/64 diecast model
A careful method for turning over a miniature car, photographing its base and recording markings and structure without converting uncertain clues into facts.
QUICK ANSWER
Prepare a clean, soft surface and check which mirrors, antennae or body details could carry weight before turning the model over. Support sturdy parts of the body and lower it gently. Take one complete underside photograph first, then record only the markings you can actually read: scale, maker or brand, model name, product-like codes, rights year and country of manufacture. Do not convert a molded year into a release year without another source. Observe axles and fasteners before attempting any cleaning, adjustment or disassembly.
- Choose a resting position that does not load mirrors, antennae or fragile roof details
- Photograph the complete underside before making close-up images
- Transcribe visible markings before trying to interpret them
- Keep copyright, tooling, manufacturing and release dates separate
- Separate external observation from any repair or disassembly decision
Treat the underside as an identification record, not a quality score
The base can hold information that the painted body does not show: scale, vehicle name, brand or distributor, rights notices, country of manufacture and code-like identifiers. Those clues can separate similar colors or repeated versions of the same vehicle.
Marking styles and locations vary widely. Use the underside as a first-hand note that connects to packaging, official product information and your purchase record rather than as enough evidence to declare a release date or exact version on its own.
1. Prepare a soft surface and find the safe support points first
Place a clean microfiber cloth or plain soft mat on the desk. Before lifting the car, identify mirrors, antennae, roof accessories and spoilers that could touch first when the model is inverted.
If the roof is not a stable resting point, use low supports under strong outer edges of the body so that delicate details remain clear of the surface. If you wear gloves, check that the fabric cannot catch on a thin part before moving the model.
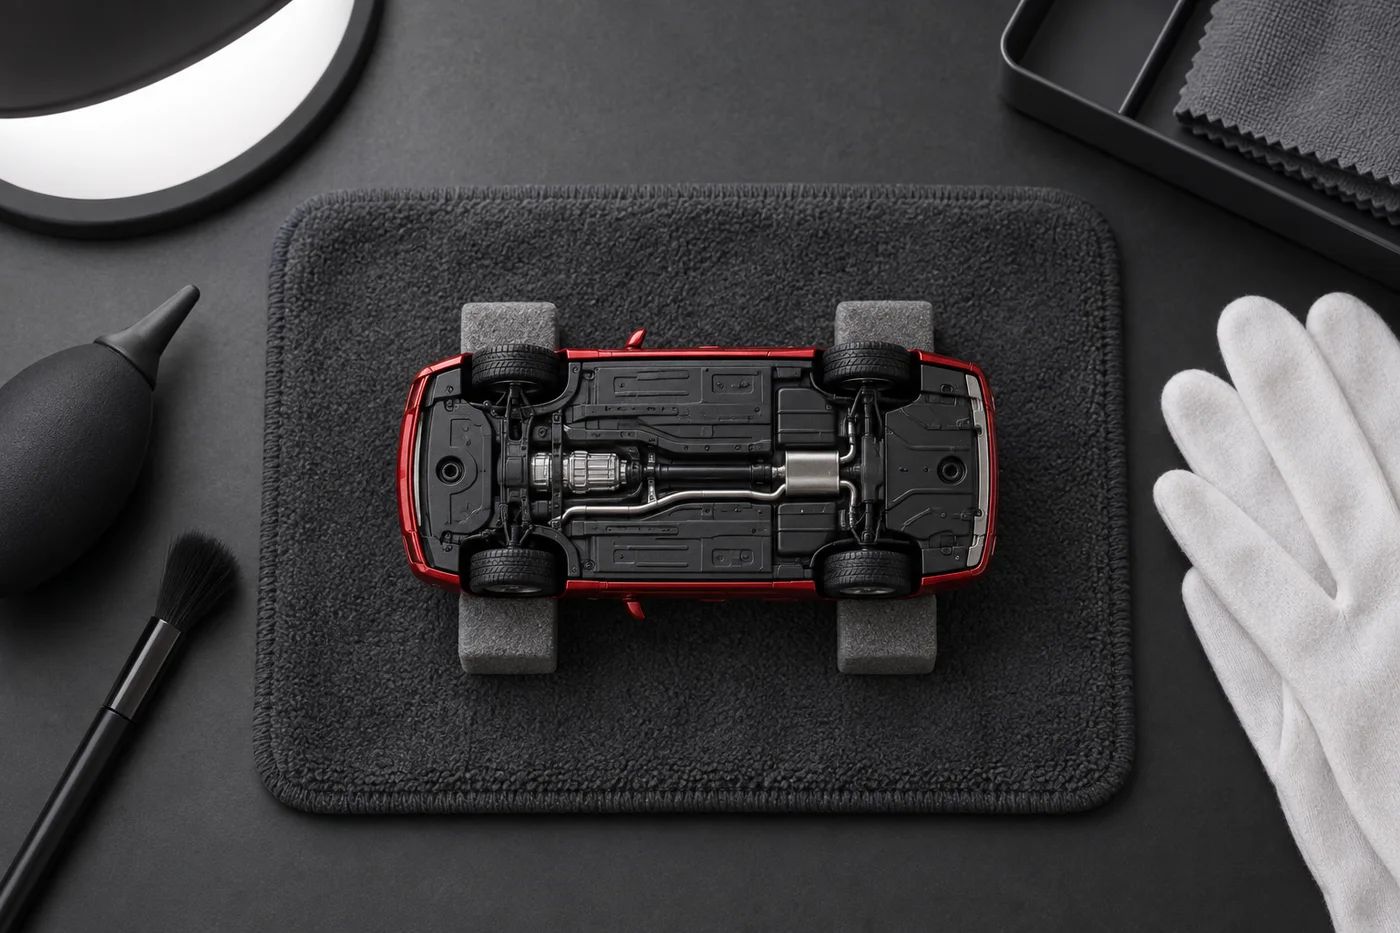
2. Begin with one complete underside photograph
Before moving close to a marking, make a frame that includes both bumpers and all four tires. The overview lets you locate every later close-up on the actual model.
Keep the phone parallel to the base and avoid one harsh point light. On a dark chassis, broad light from a low angle creates shallow shadows that make molded lettering and structural edges easier to separate.
3. Separate what the base says from what you infer
Use six fields: vehicle name, printed scale, maker or brand, product-like code, rights year and country of manufacture. Leave a field blank when it is absent, and add a question mark when one character remains uncertain.
A year molded into the base may refer to copyright or tooling rather than the retail release. If you can read 2008, record “base year: 2008” instead of silently placing it in the release-year field.
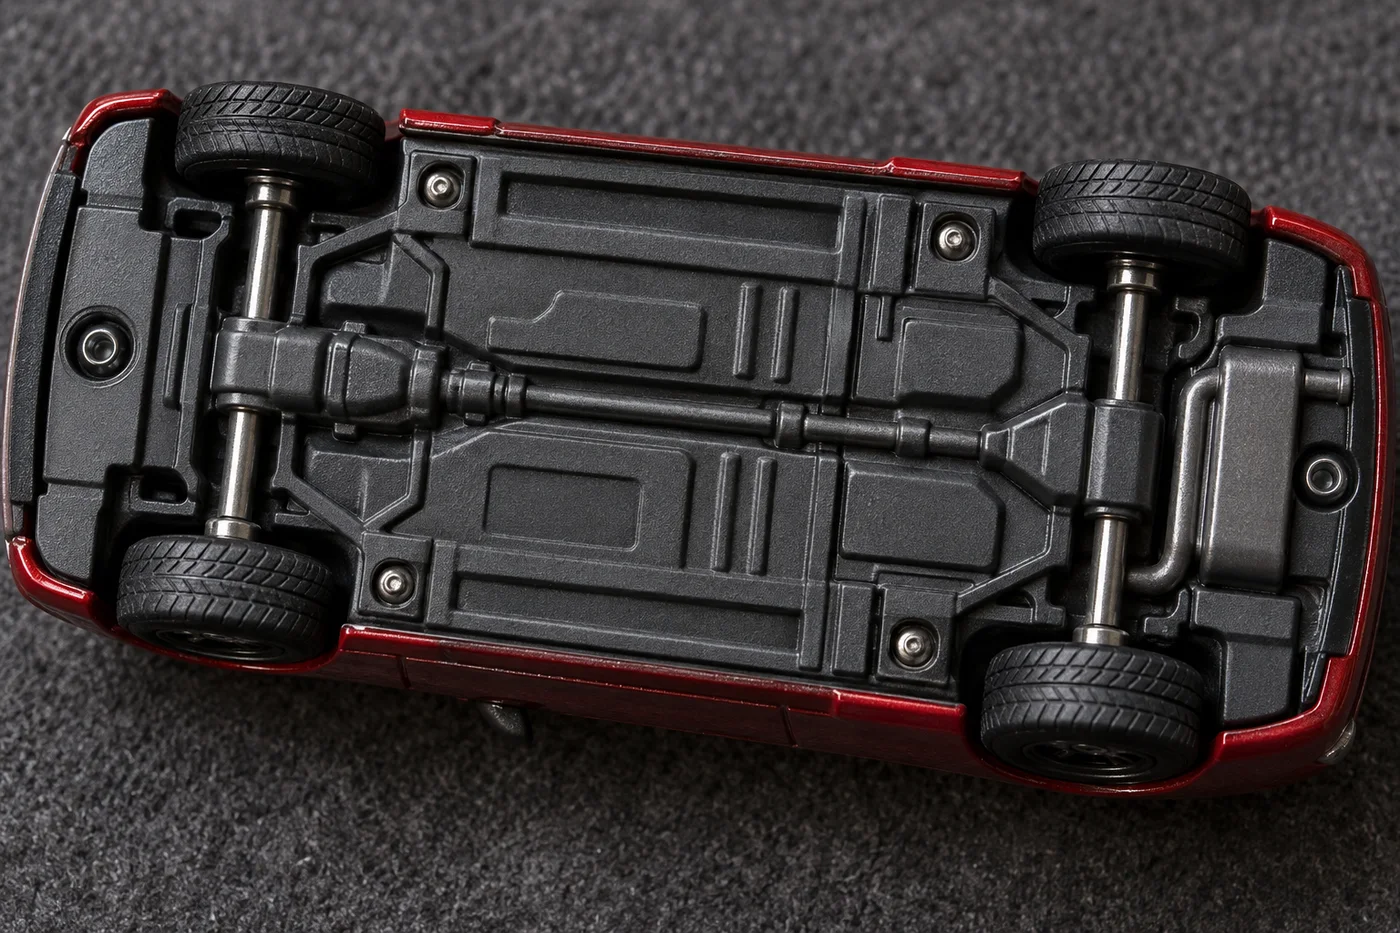
4. Record axles, fasteners and chassis condition before touching them
Look in a fixed order: apparent axle alignment, tire contact with the chassis, marks on rivets or screws, then any major warping or separation between parts. At this stage, document what is visible without repeatedly spinning wheels or attempting disassembly.
Base wear, transferred paint and loose dust are different conditions. If you later clean or adjust your own model, preserve the observation image first and keep the after-work image separate. Do not diagnose internal construction or repair history from photographs of a model you do not own.
5. Keep an overview, a detail and a short text record together
For most models, three image types are enough: the whole underside, any difficult marking and one structural detail that needs attention. Use a consistent file name such as inventoryID_underside_date and connect it to the same ID used in your storage record.
Add the evidence source to each text field: observed on base, observed on packaging or confirmed by an official source. That small label makes future corrections much easier to trace.
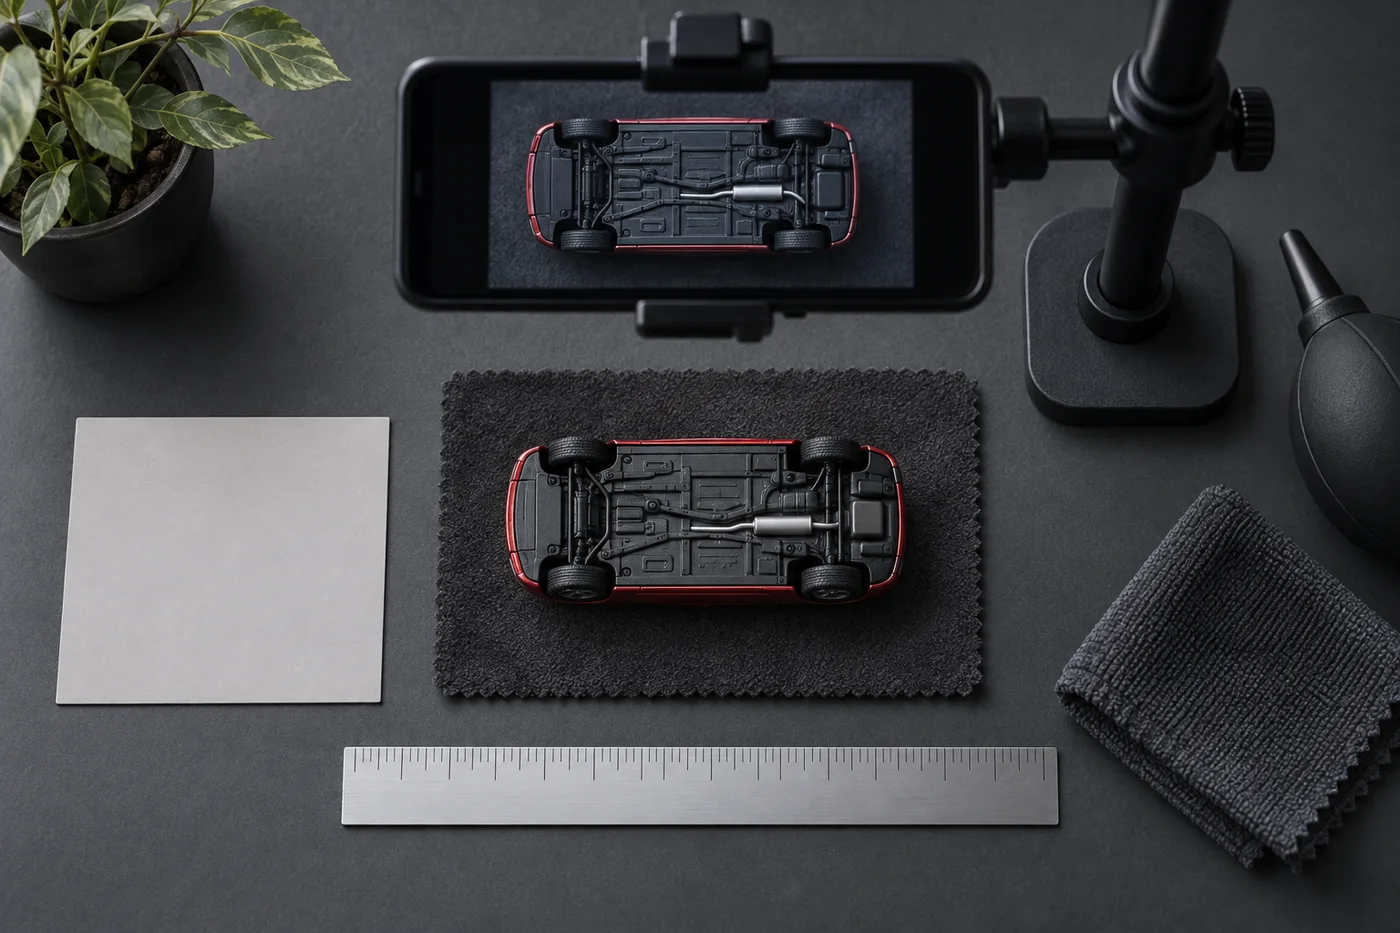
6. Start comparisons within the same series and tooling family
Base design and fastening methods differ by maker, series, period and vehicle. Do not begin by ranking unrelated brands. Compare nearby conditions first, such as two colors from one series or different releases of the same casting.
When lettering position, axle routing or chassis material differs, retain the photograph date and acquisition source. Leave the cause undecided until official material or more than one example can distinguish a specification change from an individual variation.
- Does the overview make the front and rear obvious?
- Did you transcribe markings without filling gaps by guesswork?
- Did you keep a molded year separate from the release year?
- Are before-cleaning and after-work photographs clearly separated?
- Are comparison models close in series and specification?
Frequently asked questions
Is the year on the base the release year?
Not necessarily. It may be connected to copyright, tooling or a trademark. Confirm a retail release year with an official product page, catalog or period packaging.
Can I spin the wheels during inspection?
A brief gentle check can be reasonable on a model you own. Stop if you feel resistance or contact, and photograph the condition before trying to bend an axle or force a wheel.
What if the lettering is unreadable in the photograph?
Use low-angle light to create shadows across the molded relief and keep the phone parallel to the base. Leave anything still unreadable blank instead of guessing.
Does this guide explain disassembly?
No. It covers non-invasive external observation. Disassembly or repair can affect safety, value and warranties, so it should be treated as a separate decision.
About this note
This practical note is built around a repeatable observation or collection workflow and does not depend on a current product announcement. Any future addition involving release dates, specifications or news will identify its supporting source.
The procedure is presented as practical guidance, not as a universal product specification. We do not invent hands-on impressions of products we have not examined.